


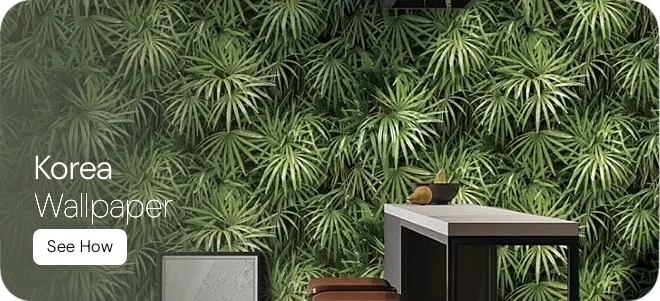


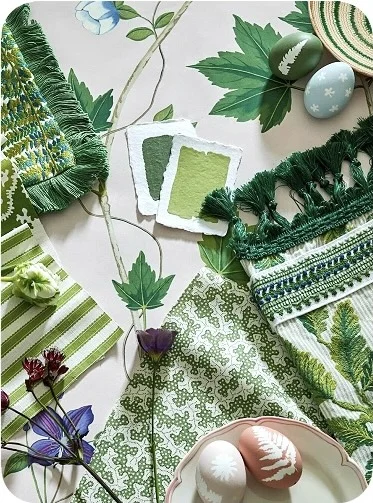
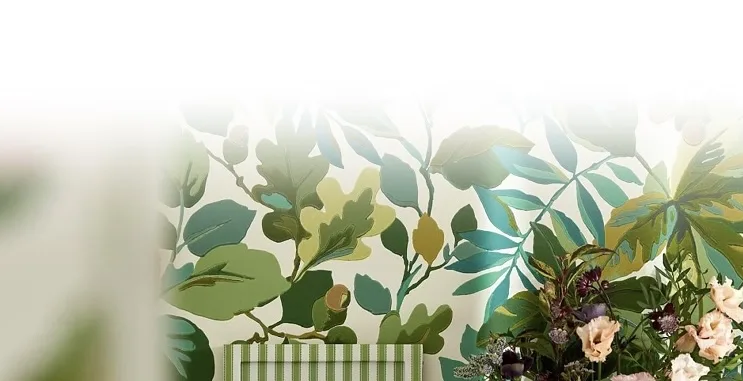
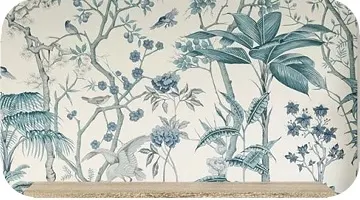
WALLPAPER SELECTION
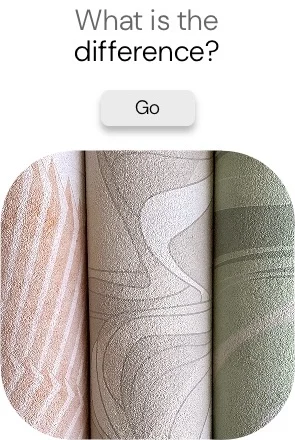
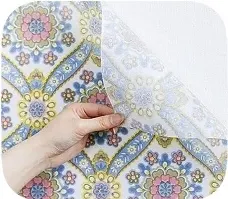
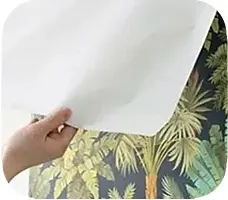
Our diverse wallpaper range offers choices like non-woven for easy removal, vinyl-coated for superior durability, and traditional paper for classic aesthetics. Understand the different types of wallpaper based on their features, benefits, and potential drawbacks to ensure the perfect fit for your space and lifestyle.
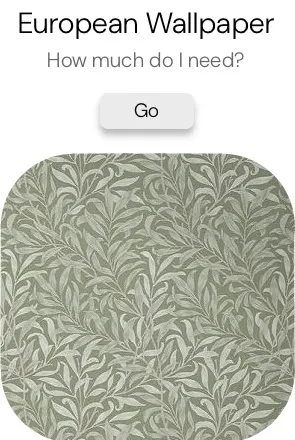
MEASUREMENT
Before unrolling your first sheet, take the time to meticulously measure the height and width of every wall section designated for wallpaper.
For those challenging high walls, a sturdy ladder is essential to ensure accurate measurements from floor to ceiling. Consolidate these figures to calculate your total required square footage. To account for necessary trimming, pattern repeats, and potential errors, always add an extra 10-15% buffer. And for all the essential equipment to achieve a flawless installation, view our complete range of wall construction tools.

2. Prepare Tools & Materials
Having all necessary tools at hand streamlines the installation process and prevents unnecessary interruptions.

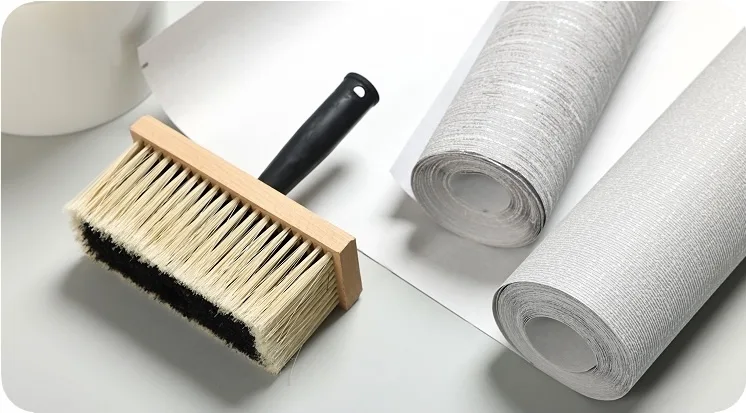
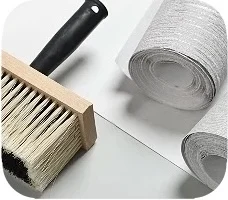
ADHESIVE
For wallpaper without integrated adhesive, apply paste using a brush or the advanced wallpaper roller.
CUTTING TOOLS
Sharp utility knife with snap-off blades, scissors.
MEASURING & MARKING
Long metal ruler or straightedge, tape measure, pencil, plumb bob or laser level.
SMOOTHING & TRIMMING
Smoothing brush or plastic smoother, seam roller, damp sponge and bucket of clean water. Note that a wallpaper bucket is also useful for organizing and carrying these tools.
SAFETY & PROTECTION
Drop cloths to protect flooring, a stepladder or scaffolding for reaching high areas.
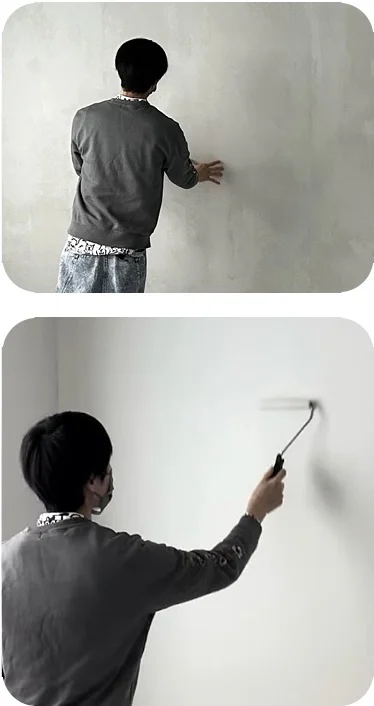
3. Wall Preparation
A well-prepared surface is paramount for wallpaper adhesion and a professional appearance.
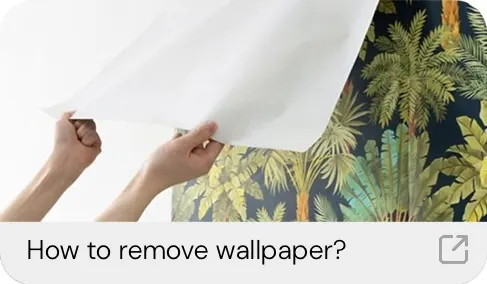
OLD WALLPAPER REMOVAL
Ensure any existing wallpaper is fully removed, and all old adhesive residue is thoroughly cleaned from the wall.
CLEAN YOUR WALL
Thoroughly wash walls to remove any dirt, grease, or grime that could interfere with adhesion.
REPAIR THE WALL SURFACE
Fill all holes, cracks, and imperfections with spackle. Sand the repaired areas smooth once dry to create an even surface.
PRIMER APPLICATION
Apply a high-quality wallpaper primer (often called a "sizing"). This seals porous surfaces, promotes better adhesion, and facilitates easier removal of wallpaper in the future. Allow it to dry completely as per manufacturer's instructions.
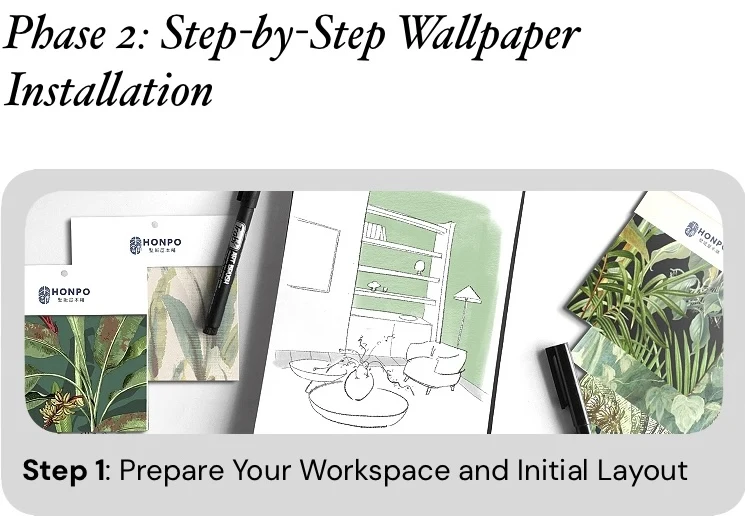
- Clear the room of furniture and tools such as a ladder, then lay down drop cloths to protect your floor.
- Turn off electricity to outlets and light switches and remove their cover plates.
- Find your starting point, typically an unnoticed corner or near a doorframe, and use your plumb line to draw a perfectly vertical line from ceiling to floor, one wallpaper width from your starting corner. This line is important for guiding your first strip.
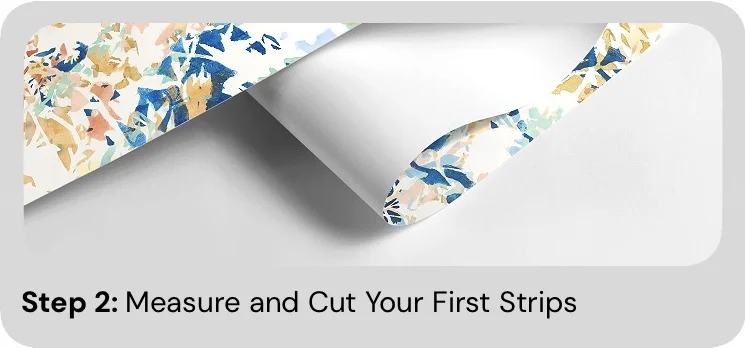
- Measure the height of your wall from the ceiling to the baseboard, adding an extra 4-6 inches (2-3 inches at the top and bottom) for trimming.
- Cut your first strip of wallpaper according to this measurement. If your wallpaper has a pattern, ensure you align it correctly, cutting subsequent strips to match the pattern at the top edge of the previous strip. Number your strips lightly on the back to maintain order.

- If using wallpaper without adhesive, apply an even and consistent layer of adhesive to the back of the first strip. Avoid applying too much adhesive, as it could tear the wallpaper. Start in the centre and work your way out to the edges. Fold the glued edges toward the centre to allow the adhesive to adhere without drying, according to the adhesive's instructions.
- For wallpaper with adhesive, activate the adhesive by dipping the strip in a bowl of water, following the manufacturer's specific instructions
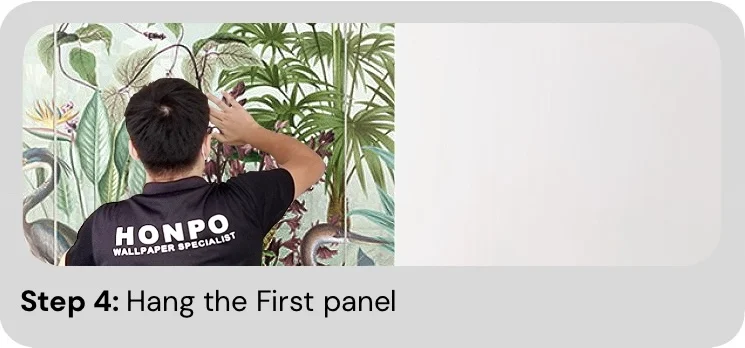
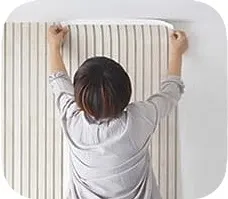
- Carefully carry the folded, pasted strip to the wall. Align its edge precisely with the plumb line you drew, starting from the ceiling, allowing the excess 2-3 inches to extend onto the ceiling.
- Unfold the rest of the strip, smoothing it down the wall using a wallpaper smoothing brush or plastic smoother. Work from the centre outwards to push out any air bubbles and ensure firm contact with the wall.
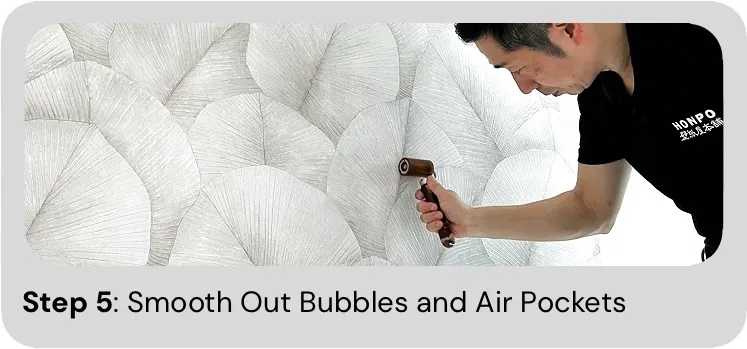
After the strip is on the wall, use your smoothing tool, such as spatula or wallpaper roller, to gently but firmly work any remaining air bubbles towards the edges of the paper. Large bubbles can sometimes be pricked with a pin and smoothed.
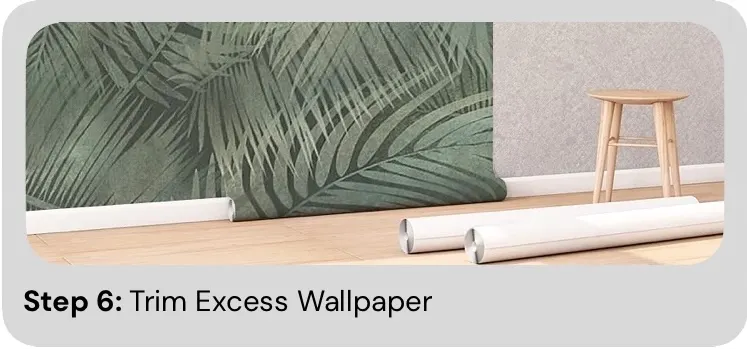
Use a sharp utility knife and a ruler or a wide putty knife. Carefully trim the straight edge firmly into the corner to create a clean crease, then cut along the crease. Change blades frequently to ensure a clean cut.
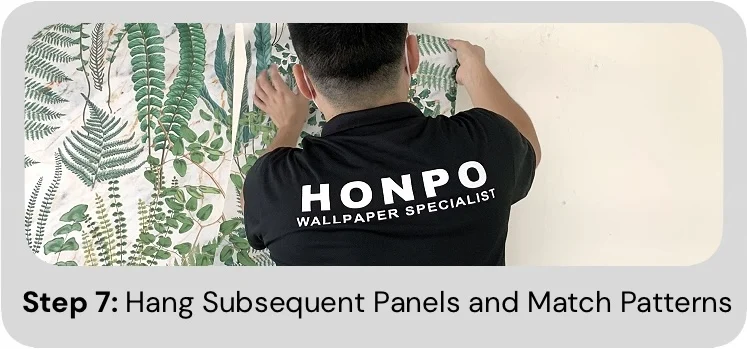
- For the next strip, align its edge directly next to the first strip. Butting the seams together tightly without overlapping. Pay close attention to pattern matching at the seam.
- Smooth the second strip as you did the first, ensuring no gaps or overlaps.
- Roll over the seams with a seam roller to ensure they are fully adhered to the wall and flat. Be gentle to avoid damaging the wallpaper surface.
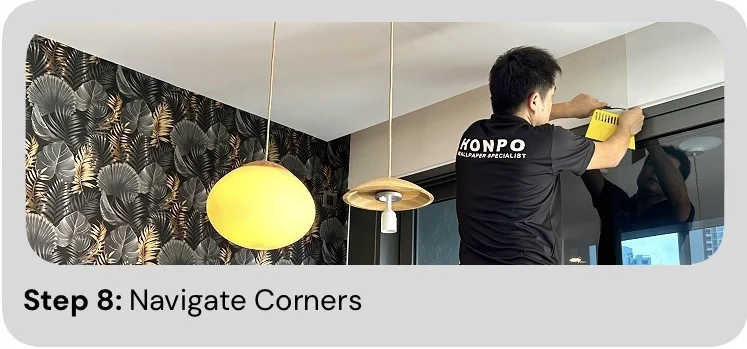
- Inside Corners: Measure from the last full strip to the corner. Cut the strip, allowing about 1/2 inch to wrap around the corner. Hang this piece. Next, measure from the corner onto the new wall. Then, cut a new piece to start perfectly straight on that new wall, overlapping the previous piece by that ½ inch.
- Outside Corners: Wrap the wallpaper around the corner by about 1/2 to 1 inch. If this wrap is wider, make a vertical cut just beyond the corner on the new wall. Subsequently, overlap this section with the next strip, ensuring it starts perfectly plumb on the new wall.
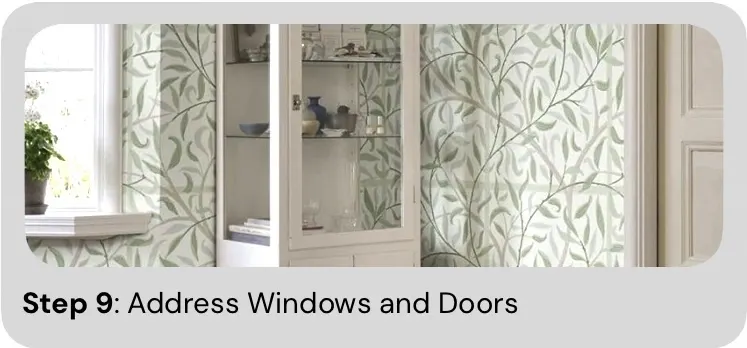
- Hang the wallpaper over the window or door opening.
- Make diagonal relief cuts from the centre of the opening to each corner.
- Trim the wallpaper carefully around the frame using a sharp utility knife and a straightedge.
- Immediately wipe off any excess paste from the wallpaper surf seams with a damp sponge. Clean water is best for this.
- Replace outlet and light switch cover plates.
- Allow the wallpaper to dry completely, avoiding sudden tempe or drafts, which can cause seams to lift.
While this guide covers general installation principles, different wallpaper types may require specific techniques. For more detailed instructions tailored to your chosen material, explore our specialized guides:


WALLPAPER SELECTION
Our diverse wallpaper range offers choices like non-woven for easy removal, vinyl-coated for superior durability, and traditional paper for classic aesthetics. Understand the different types of wallpaper based on their features, benefits, and potential drawbacks to ensure the perfect fit for your space and lifestyle.
MEASUREMENT
Before unrolling your first sheet, take the time to meticulously measure the height and width of every wall section designated for wallpaper.
For those challenging high walls, a sturdy ladder is essential to ensure accurate measurements from floor to ceiling. Consolidate these figures to calculate your total required square footage. To account for necessary trimming, pattern repeats, and potential errors, always add an extra 10-15% buffer. And for all the essential equipment to achieve a flawless installation, view our complete range of wall construction tools.
2. Prepare Tools & Materials
Having all necessary tools at hand streamlines the installation process and prevents unnecessary interruptions.
ADHESIVE
For wallpaper without integrated adhesive, apply paste using a brush or the advanced wallpaper roller.
CUTTING TOOLS
Sharp utility knife with snap-off blades, scissors.
MEASURING & MARKING
Long metal ruler or straightedge, tape measure, pencil, plumb bob or laser level.
SMOOTHING & TRIMMING
Smoothing brush or plastic smoother, seam roller, damp sponge and bucket of clean water. Note that a wallpaper bucket is also useful for organizing and carrying these tools.
SAFETY & PROTECTION
Drop cloths to protect flooring, a stepladder or scaffolding for reaching high areas.
3. Wall Preparation
A well-prepared surface is paramount for wallpaper adhesion and a professional appearance.
OLD WALLPAPER REMOVAL
Ensure any existing wallpaper is fully removed, and all old adhesive residue is thoroughly cleaned from the wall.
CLEAN YOUR WALL
Thoroughly wash walls to remove any dirt, grease, or grime that could interfere with adhesion.
REPAIR THE WALL SURFACE
Fill all holes, cracks, and imperfections with spackle. Sand the repaired areas smooth once dry to create an even surface.
PRIMER APPLICATION
Apply a high-quality wallpaper primer (often called a "sizing"). This seals porous surfaces, promotes better adhesion, and facilitates easier removal of wallpaper in the future. Allow it to dry completely as per manufacturer's instructions.
- Clear the room of furniture and tools such as a ladder, then lay down drop cloths to protect your floor.
- Turn off electricity to outlets and light switches and remove their cover plates.
- Find your starting point, typically an unnoticed corner or near a doorframe, and use your plumb line to draw a perfectly vertical line from ceiling to floor, one wallpaper width from your starting corner. This line is important for guiding your first strip.
- Measure the height of your wall from the ceiling to the baseboard, adding an extra 4-6 inches (2-3 inches at the top and bottom) for trimming.
- Cut your first strip of wallpaper according to this measurement. If your wallpaper has a pattern, ensure you align it correctly, cutting subsequent strips to match the pattern at the top edge of the previous strip. Number your strips lightly on the back to maintain order.
- If using wallpaper without adhesive, apply an even and consistent layer of adhesive to the back of the first strip. Avoid applying too much adhesive, as it could tear the wallpaper. Start in the centre and work your way out to the edges. Fold the glued edges toward the centre to allow the adhesive to adhere without drying, according to the adhesive's instructions.
- For wallpaper with adhesive, activate the adhesive by dipping the strip in a bowl of water, following the manufacturer's specific instructions
- Carefully carry the folded, pasted strip to the wall. Align its edge precisely with the plumb line you drew, starting from the ceiling, allowing the excess 2-3 inches to extend onto the ceiling.
- Unfold the rest of the strip, smoothing it down the wall using a wallpaper smoothing brush or plastic smoother. Work from the centre outwards to push out any air bubbles and ensure firm contact with the wall.
After the strip is on the wall, use your smoothing tool, such as spatula or wallpaper roller, to gently but firmly work any remaining air bubbles towards the edges of the paper. Large bubbles can sometimes be pricked with a pin and smoothed.
Use a sharp utility knife and a ruler or a wide putty knife. Carefully trim the straight edge firmly into the corner to create a clean crease, then cut along the crease. Change blades frequently to ensure a clean cut.
- For the next strip, align its edge directly next to the first strip. Butting the seams together tightly without overlapping. Pay close attention to pattern matching at the seam.
- Smooth the second strip as you did the first, ensuring no gaps or overlaps.
- Roll over the seams with a seam roller to ensure they are fully adhered to the wall and flat. Be gentle to avoid damaging the wallpaper surface.
- Inside Corners: Measure from the last full strip to the corner. Cut the strip, allowing about 1/2 inch to wrap around the corner. Hang this piece. Next, measure from the corner onto the new wall. Then, cut a new piece to start perfectly straight on that new wall, overlapping the previous piece by that ½ inch.
- Outside Corners: Wrap the wallpaper around the corner by about 1/2 to 1 inch. If this wrap is wider, make a vertical cut just beyond the corner on the new wall. Subsequently, overlap this section with the next strip, ensuring it starts perfectly plumb on the new wall.
- Hang the wallpaper over the window or door opening.
- Make diagonal relief cuts from the centre of the opening to each corner.
- Trim the wallpaper carefully around the frame using a sharp utility knife and a straightedge.
- Immediately wipe off any excess paste from the wallpaper surf seams with a damp sponge. Clean water is best for this.
- Replace outlet and light switch cover plates.
- Allow the wallpaper to dry completely, avoiding sudden tempe or drafts, which can cause seams to lift.
While this guide covers general installation principles, different wallpaper types may require specific techniques. For more detailed instructions tailored to your chosen material, explore our specialized guides: